🚀 nlpconnect/vit-gpt2-image-captioning
このモデルは、@ydshiehによってflaxで学習された画像キャプショニングモデルです。これはこのモデルのPyTorchバージョンです。
🚀 クイックスタート
このセクションでは、この画像キャプショニングモデルの基本的な使い方を説明します。
✨ 主な機能
- 画像に対して自然なキャプションを生成することができます。
- トランスフォーマーアーキテクチャを使用しているため、高精度なキャプション生成が可能です。
📦 インストール
このモデルを使用するには、transformersライブラリが必要です。以下のコマンドでインストールできます。
pip install transformers torch pillow
💻 使用例
基本的な使用法
from transformers import VisionEncoderDecoderModel, ViTImageProcessor, AutoTokenizer
import torch
from PIL import Image
model = VisionEncoderDecoderModel.from_pretrained("nlpconnect/vit-gpt2-image-captioning")
feature_extractor = ViTImageProcessor.from_pretrained("nlpconnect/vit-gpt2-image-captioning")
tokenizer = AutoTokenizer.from_pretrained("nlpconnect/vit-gpt2-image-captioning")
device = torch.device("cuda" if torch.cuda.is_available() else "cpu")
model.to(device)
max_length = 16
num_beams = 4
gen_kwargs = {"max_length": max_length, "num_beams": num_beams}
def predict_step(image_paths):
images = []
for image_path in image_paths:
i_image = Image.open(image_path)
if i_image.mode != "RGB":
i_image = i_image.convert(mode="RGB")
images.append(i_image)
pixel_values = feature_extractor(images=images, return_tensors="pt").pixel_values
pixel_values = pixel_values.to(device)
output_ids = model.generate(pixel_values, **gen_kwargs)
preds = tokenizer.batch_decode(output_ids, skip_special_tokens=True)
preds = [pred.strip() for pred in preds]
return preds
predict_step(['doctor.e16ba4e4.jpg'])
高度な使用法
from transformers import pipeline
image_to_text = pipeline("image-to-text", model="nlpconnect/vit-gpt2-image-captioning")
image_to_text("https://ankur3107.github.io/assets/images/image-captioning-example.png")
📚 ドキュメント
イラスト付きの画像キャプショニング
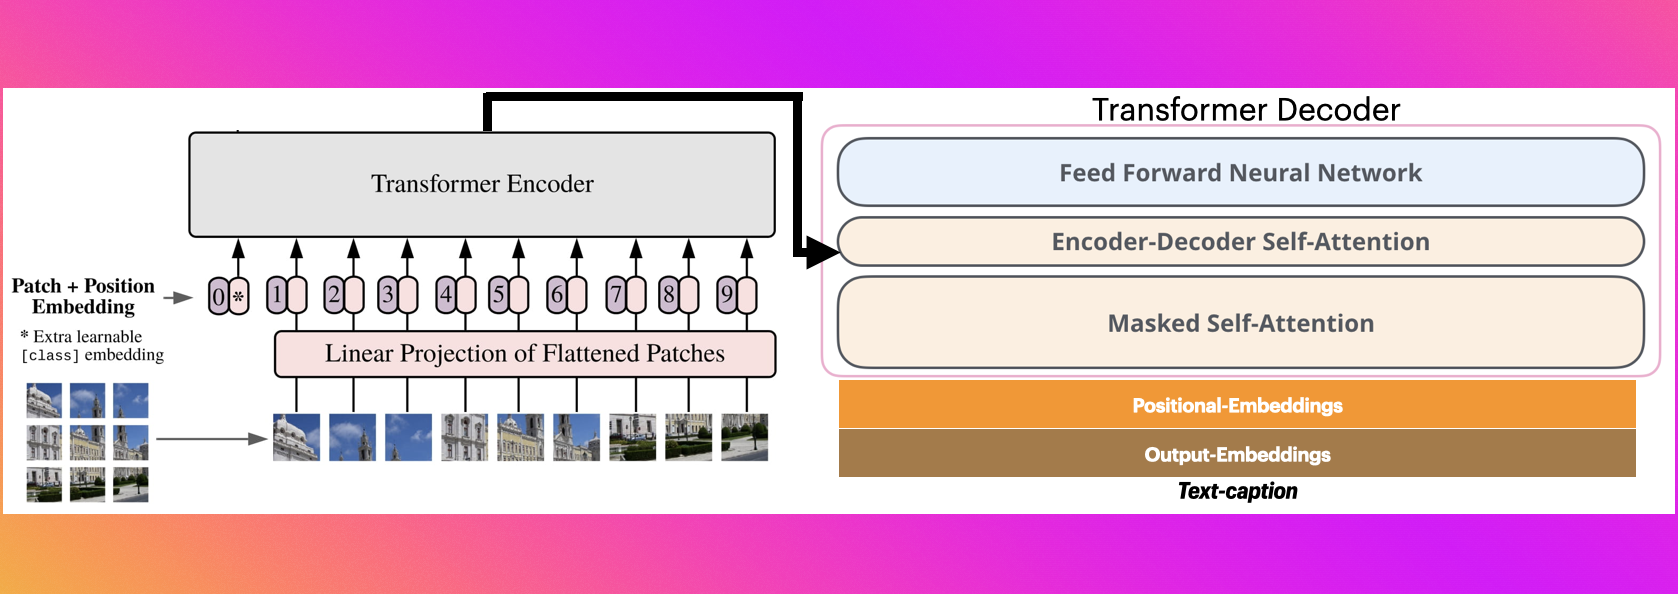
- https://ankur3107.github.io/blogs/the-illustrated-image-captioning-using-transformers/
📄 ライセンス
このモデルはApache 2.0ライセンスの下で公開されています。
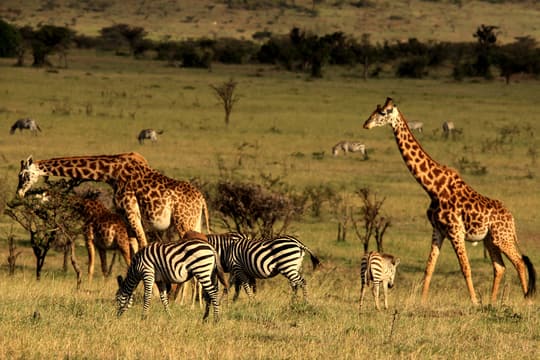
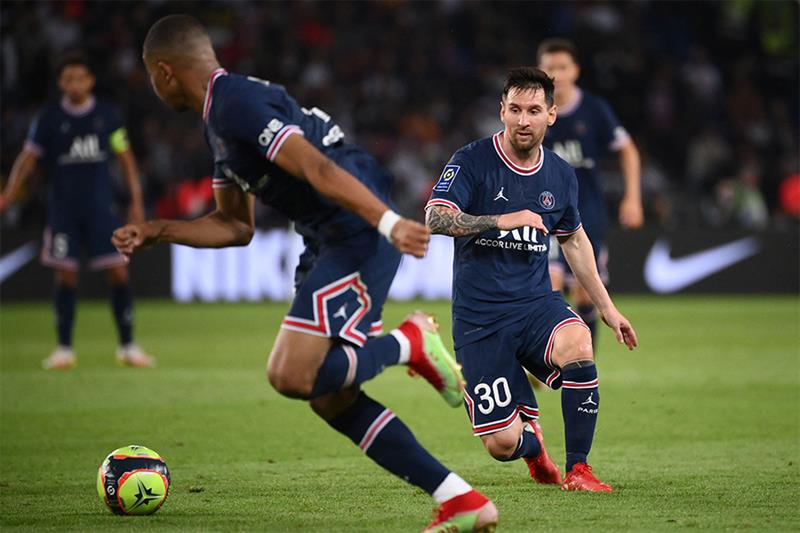
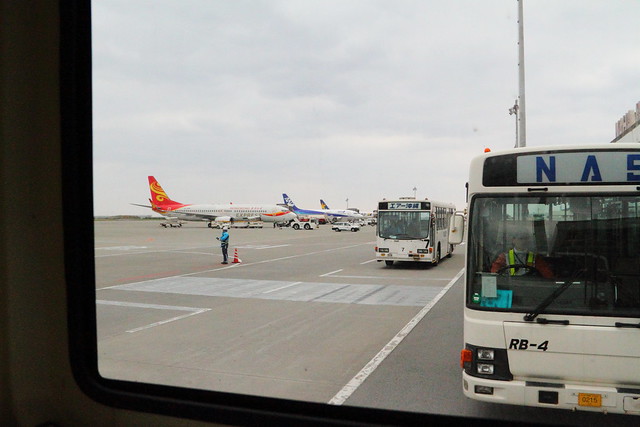
サンプル画像
お問い合わせ
何か質問や助けが必要な場合は、以下のリンクから連絡してください。
- https://huggingface.co/ankur310794
- https://twitter.com/ankur310794
- http://github.com/ankur3107
- https://www.linkedin.com/in/ankur310794
%20--%3e%3cdefs%3e%3cstyle%3e%20.st0%20{%20fill:%20%23061b40;%20}%20.st1%20{%20fill:%20%23306af1;%20}%20.st2%20{%20fill:%20%235ce5cf;%20}%20%3c/style%3e%3c/defs%3e%3cg%3e%3cpath%20class='st0'%20d='M55,10.5h9v3h-9v9h12V7.5h-12v3ZM64,19.5h-6v-3h6v3Z'/%3e%3cpolygon%20class='st0'%20points='69%2016.5%2078%2016.5%2078%2019.5%2069%2019.5%2069%2022.5%2081%2022.5%2081%2013.5%2072%2013.5%2072%2010.5%2081%2010.5%2081%207.5%2069%207.5%2069%2016.5'/%3e%3cpolygon%20class='st0'%20points='95%2010.5%2095%207.5%2083%207.5%2083%2022.5%2095%2022.5%2095%2019.5%2086%2019.5%2086%2016.5%2095%2016.5%2095%2013.5%2086%2013.5%2086%2010.5%2095%2010.5'/%3e%3cpath%20class='st0'%20d='M40,1.5v21h11.6l1.4-1.4v-7.6h0c0,0-1.4-1.5-1.4-1.5l1.4-1.4V2.9l-1.4-1.4h-11.6ZM50,19.5h-7v-6h7v6ZM50,10.5h-7v-6h7v6Z'/%3e%3c/g%3e%3cpath%20class='st1'%20d='M23.1,24L14.7,4.8l-4.9,11.2h3.8l-1.8,4H3.3L12.1,0H2C.9,0,0,.9,0,2v20c0,1.1.9,2,2,2h21.1Z'/%3e%3cpath%20class='st2'%20d='M34,0h-16.8l10.6,24h6.2c1.1,0,2-.9,2-2V2C36,.9,35.1,0,34,0ZM32.5,20h-4V4h4v16Z'/%3e%3c/svg%3e)
 Transformers 複数言語対応