🚀 T2I-Adapter-SDXL - Depth-MiDaS
T2I Adapterは、Stable Diffusionに追加の条件付けを提供するネットワークです。各T2Iチェックポイントは、異なるタイプの条件付けを入力として受け取り、特定の基本Stable Diffusionチェックポイントと共に使用されます。
このチェックポイントは、StableDiffusionXLチェックポイントに対する深度の条件付けを提供します。これは、Tencent ARCとHugging Faceの共同プロジェクトです。
📚 ドキュメント
モデルの詳細
-
開発者: T2I-Adapter: Learning Adapters to Dig out More Controllable Ability for Text-to-Image Diffusion Models
-
モデルの種類: 拡散ベースのテキストから画像への生成モデル
-
言語: 英語
-
ライセンス: Apache 2.0
-
詳細情報のリソース: GitHubリポジトリ、論文
-
モデルの複雑さ:
| | SD-V1.4/1.5 | SD-XL | T2I-Adapter | T2I-Adapter-SDXL |
| --- | --- | --- | --- | --- |
| パラメータ | 860M | 2.6B | 77 M | 77/79 M |
-
引用方法:
@misc{
title={T2I-Adapter: Learning Adapters to Dig out More Controllable Ability for Text-to-Image Diffusion Models},
author={Chong Mou, Xintao Wang, Liangbin Xie, Yanze Wu, Jian Zhang, Zhongang Qi, Ying Shan, Xiaohu Qie},
year={2023},
eprint={2302.08453},
archivePrefix={arXiv},
primaryClass={cs.CV}
}
チェックポイント
💻 使用例
基本的な使用法
まず、必要な依存関係をインストールします。
pip install -U git+https://github.com/huggingface/diffusers.git
pip install -U controlnet_aux==0.0.7
pip install transformers accelerate safetensors
- 画像を適切な制御画像形式でダウンロードします。
- 制御画像とプロンプトを
StableDiffusionXLAdapterPipelineに渡します。
Canny Adapterを使用した簡単な例を見てみましょう。
from diffusers import StableDiffusionXLAdapterPipeline, T2IAdapter, EulerAncestralDiscreteScheduler, AutoencoderKL
from diffusers.utils import load_image, make_image_grid
from controlnet_aux.midas import MidasDetector
import torch
adapter = T2IAdapter.from_pretrained(
"TencentARC/t2i-adapter-depth-midas-sdxl-1.0", torch_dtype=torch.float16, varient="fp16"
).to("cuda")
model_id = 'stabilityai/stable-diffusion-xl-base-1.0'
euler_a = EulerAncestralDiscreteScheduler.from_pretrained(model_id, subfolder="scheduler")
vae=AutoencoderKL.from_pretrained("madebyollin/sdxl-vae-fp16-fix", torch_dtype=torch.float16)
pipe = StableDiffusionXLAdapterPipeline.from_pretrained(
model_id, vae=vae, adapter=adapter, scheduler=euler_a, torch_dtype=torch.float16, variant="fp16",
).to("cuda")
pipe.enable_xformers_memory_efficient_attention()
midas_depth = MidasDetector.from_pretrained(
"valhalla/t2iadapter-aux-models", filename="dpt_large_384.pt", model_type="dpt_large"
).to("cuda")
url = "https://huggingface.co/Adapter/t2iadapter/resolve/main/figs_SDXLV1.0/org_mid.jpg"
image = load_image(url)
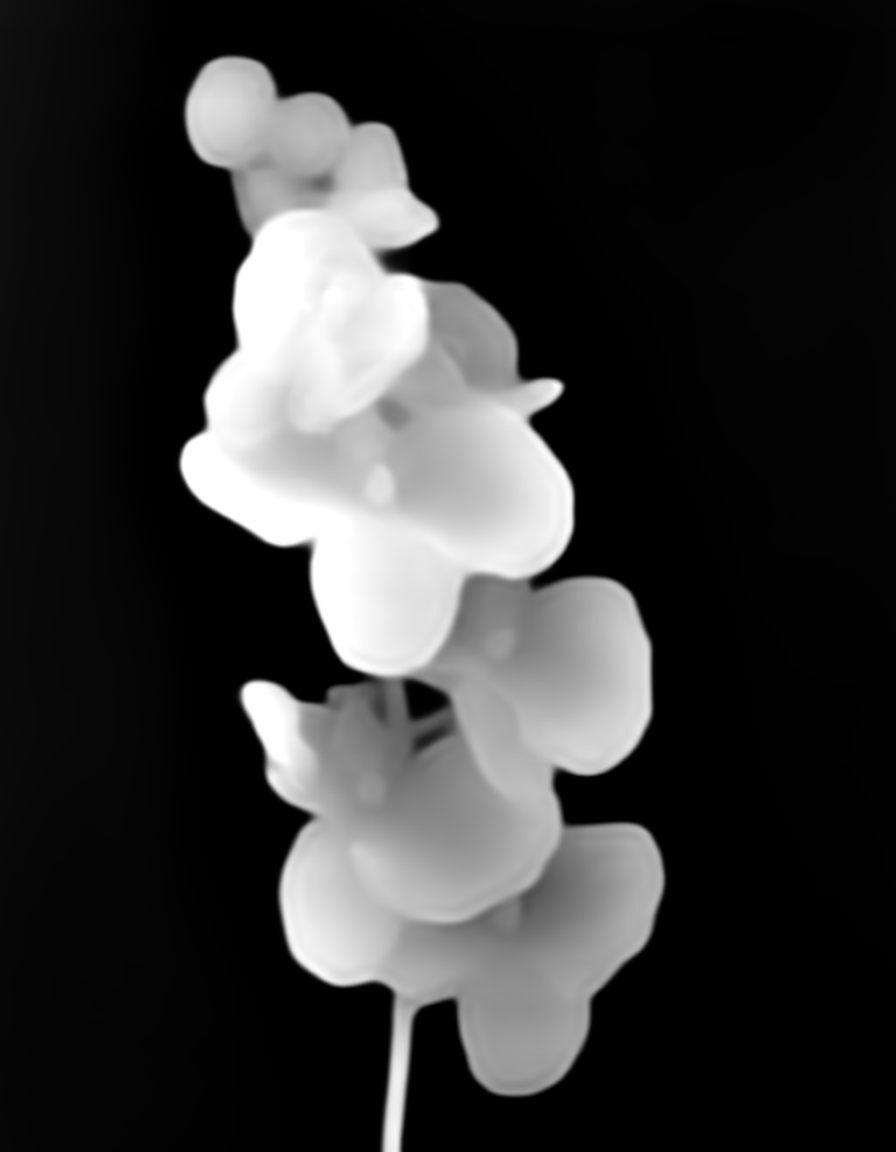
image = midas_depth(
image, detect_resolution=512, image_resolution=1024
)

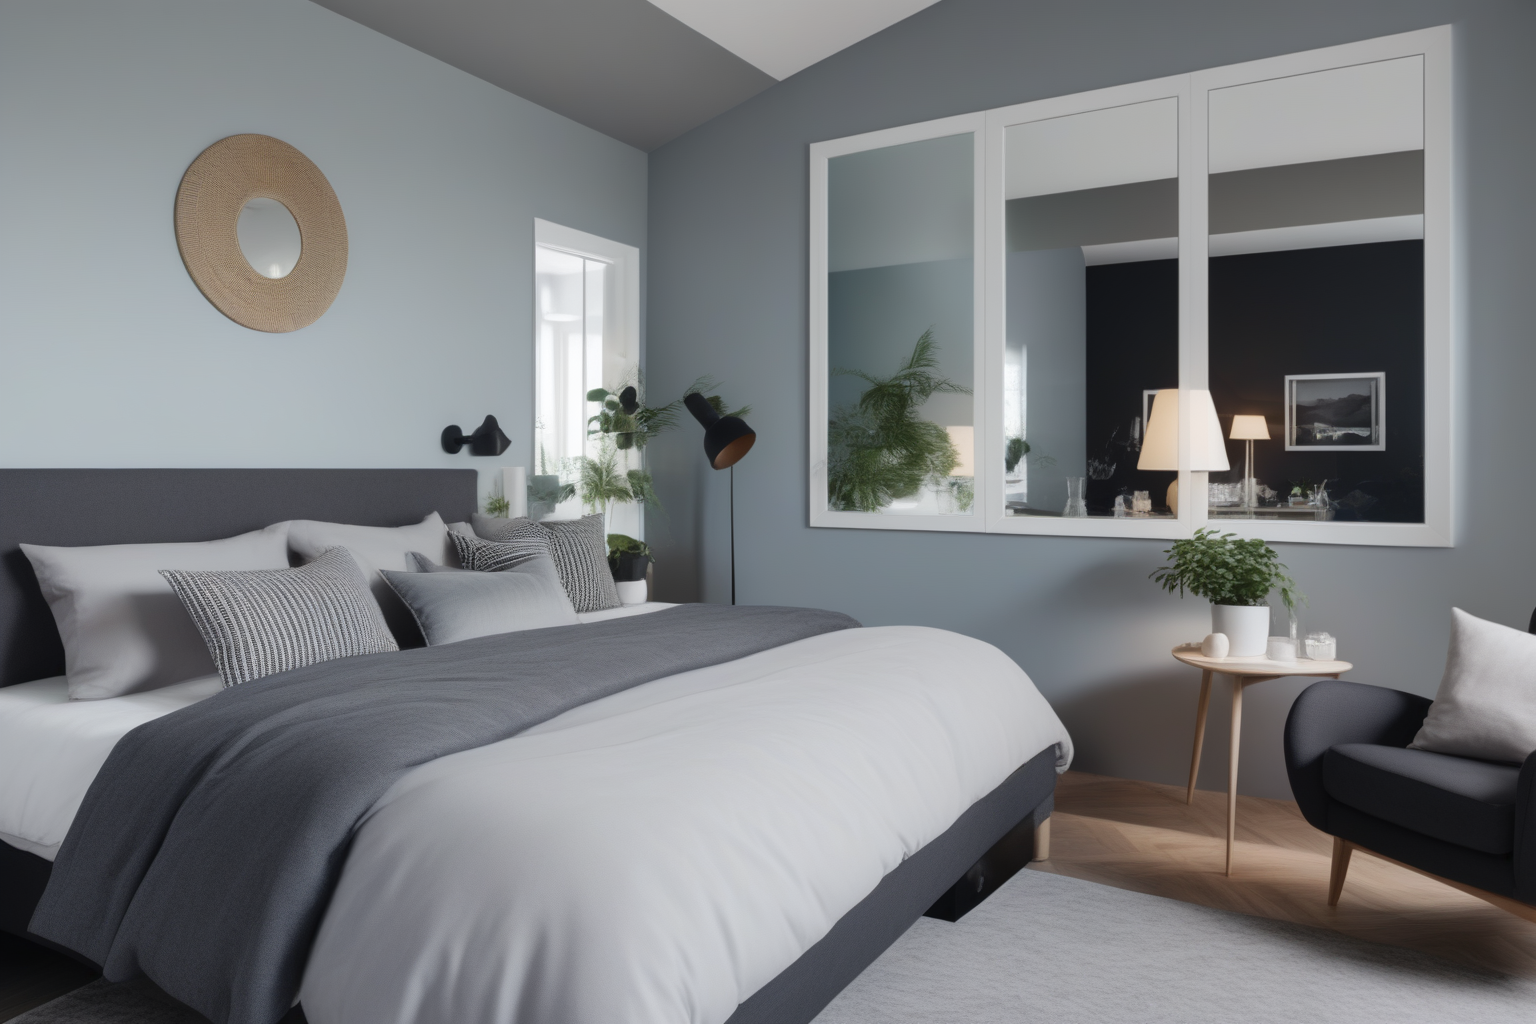
prompt = "A photo of a room, 4k photo, highly detailed"
negative_prompt = "anime, cartoon, graphic, text, painting, crayon, graphite, abstract, glitch, deformed, mutated, ugly, disfigured"

gen_images = pipe(
  prompt=prompt,
  negative_prompt=negative_prompt,
  image=image,
  num_inference_steps=30,
  adapter_conditioning_scale=1,
  guidance_scale=7.5,
).images[0]
gen_images.save('out_mid.png')
高度な使用法
学習
学習スクリプトは、ここで提供されている公式の学習スクリプトをベースに構築されています。
このモデルは、LAION-Aesthetics V2の300万件の高解像度画像とテキストのペアを使用して学習されています。
- 学習ステップ: 35000
- バッチサイズ: 単一GPUのバッチサイズが
16のデータ並列で、合計バッチサイズは256
- 学習率: 一定の学習率
1e-5
- 混合精度: fp16
📄 ライセンス
このモデルはApache 2.0ライセンスの下で提供されています。
%20--%3e%3cdefs%3e%3cstyle%3e%20.st0%20{%20fill:%20%23061b40;%20}%20.st1%20{%20fill:%20%23306af1;%20}%20.st2%20{%20fill:%20%235ce5cf;%20}%20%3c/style%3e%3c/defs%3e%3cg%3e%3cpath%20class='st0'%20d='M55,10.5h9v3h-9v9h12V7.5h-12v3ZM64,19.5h-6v-3h6v3Z'/%3e%3cpolygon%20class='st0'%20points='69%2016.5%2078%2016.5%2078%2019.5%2069%2019.5%2069%2022.5%2081%2022.5%2081%2013.5%2072%2013.5%2072%2010.5%2081%2010.5%2081%207.5%2069%207.5%2069%2016.5'/%3e%3cpolygon%20class='st0'%20points='95%2010.5%2095%207.5%2083%207.5%2083%2022.5%2095%2022.5%2095%2019.5%2086%2019.5%2086%2016.5%2095%2016.5%2095%2013.5%2086%2013.5%2086%2010.5%2095%2010.5'/%3e%3cpath%20class='st0'%20d='M40,1.5v21h11.6l1.4-1.4v-7.6h0c0,0-1.4-1.5-1.4-1.5l1.4-1.4V2.9l-1.4-1.4h-11.6ZM50,19.5h-7v-6h7v6ZM50,10.5h-7v-6h7v6Z'/%3e%3c/g%3e%3cpath%20class='st1'%20d='M23.1,24L14.7,4.8l-4.9,11.2h3.8l-1.8,4H3.3L12.1,0H2C.9,0,0,.9,0,2v20c0,1.1.9,2,2,2h21.1Z'/%3e%3cpath%20class='st2'%20d='M34,0h-16.8l10.6,24h6.2c1.1,0,2-.9,2-2V2C36,.9,35.1,0,34,0ZM32.5,20h-4V4h4v16Z'/%3e%3c/svg%3e)


 Transformers 複数言語対応